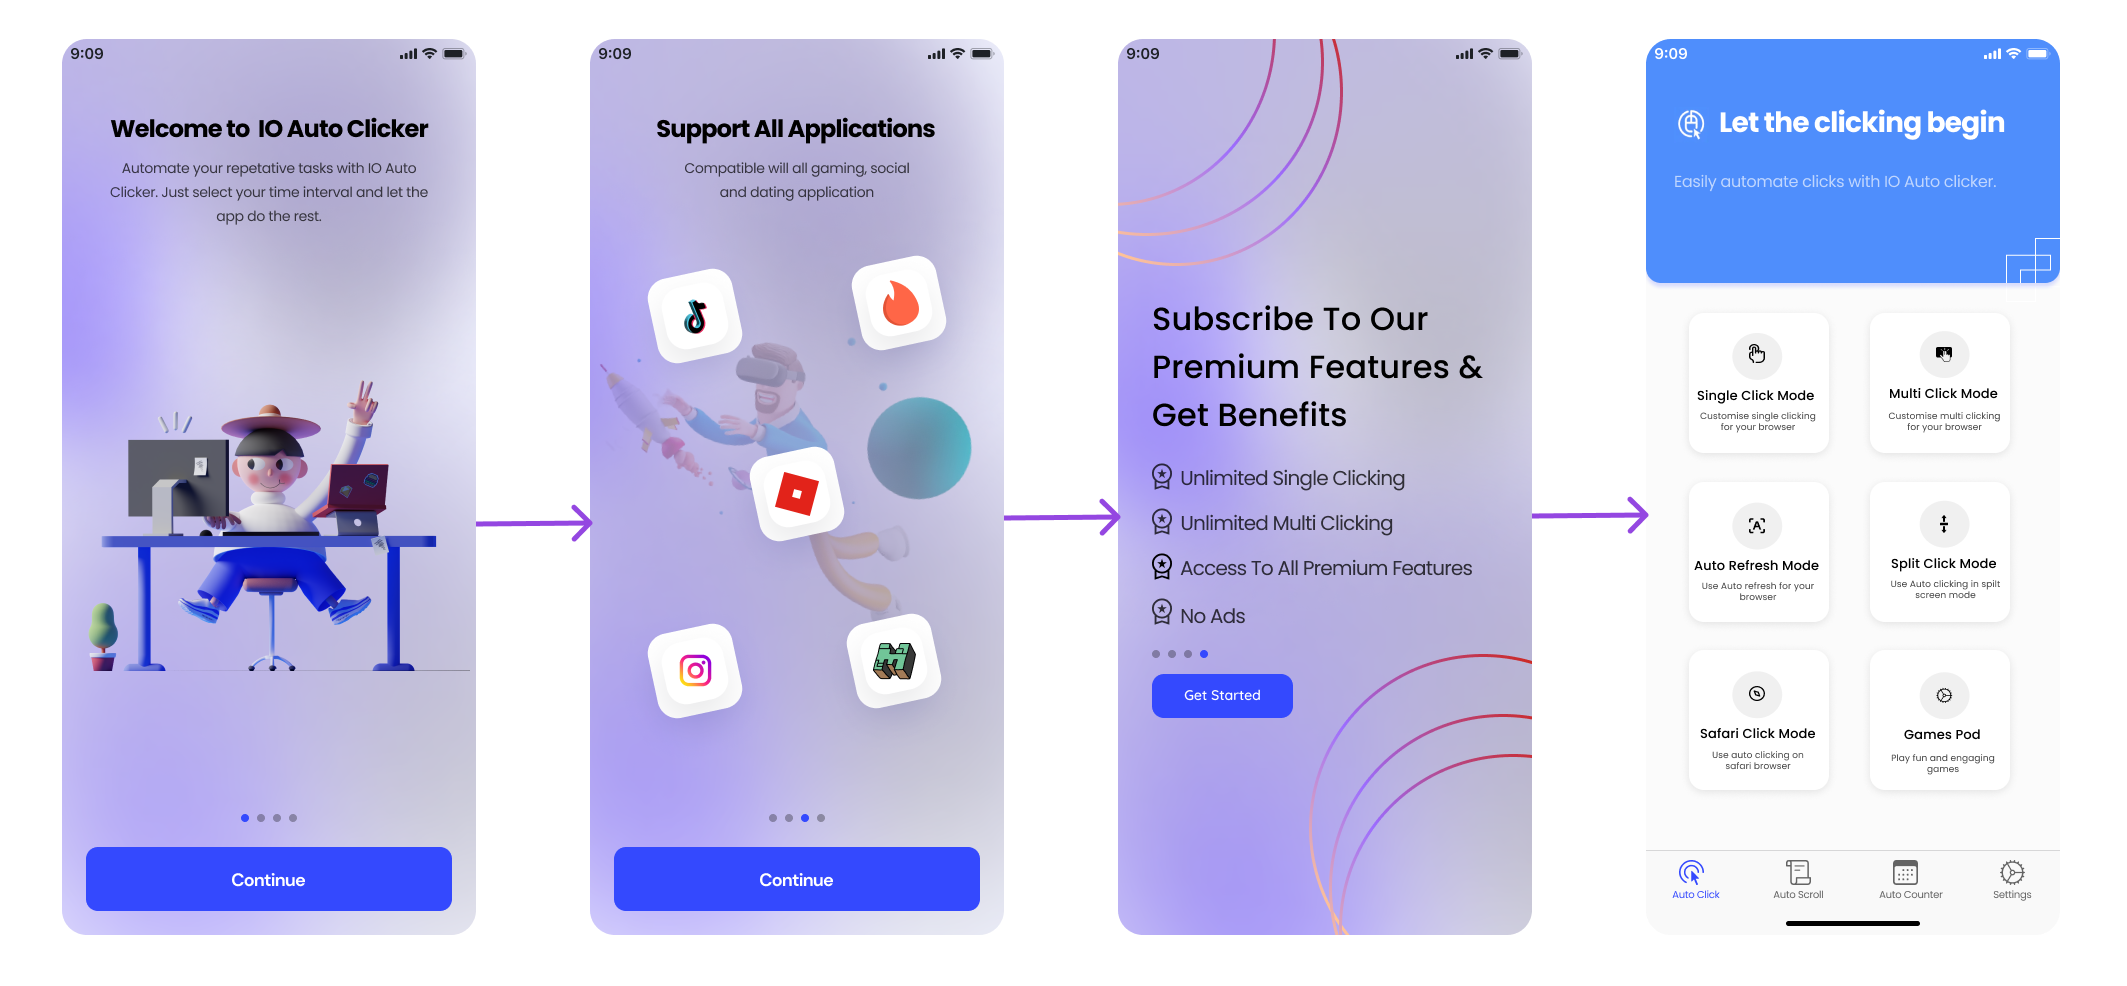
What is an auto clicking program? Well, an auto clicker is basically an application that will automatically click on the screen for the number of times you want. You can use the auto clicker software to play incremental or clicker games, to do data entry work, or to literally do any process that requires a lot of constant clicking on the screen. There are a lot of free auto clickers available on the Internet that you can download and install easily. But how to make your own auto clicker program if you don’t want to download one? The auto clicker that you will code yourself will surely be free from all types of malware and viruses.

Below is the complete process to make an auto-clicking program on your computer.
Python Auto Clicker
You can easily write down a code in Python language to make your auto clicker application. Make sure that you have installed the latest version of Python on your computer. The pip function will be active on your machine through which you can download and install third party Python modules.
Firstly, install the pynput module from your Command Prompt window (cmd). Type cmd in Windows Search bar and hit enter. Then type in pip install pynput. This will load the module to the Python library. What this module does is listens to the mouse events. Once you load this, time to write the code:
Source Code (https://nitratine.net/blog/post/python-auto-clicker/#final-code)
import time
import threading
from pynput.mouse import Button, Controller
from pynput.keyboard import Listener, KeyCode
delay = 0.001
button = Button.left
start_stop_key = KeyCode(char=’s’)
exit_key = KeyCode(char=’e’)
class ClickMouse(threading.Thread):
def __init__(self, delay, button):
super(ClickMouse, self).__init__()
self.delay = delay
self.button = button
self.running = False
self.program_running = True
def start_clicking(self):
self.running = True
def stop_clicking(self):
self.running = False
def exit(self):
self.stop_clicking()
self.program_running = False
def run(self):
while self.program_running:
while self.running:
mouse.click(self.button)
time.sleep(self.delay)
time.sleep(0.1)
mouse = Controller()
click_thread = ClickMouse(delay, button)
click_thread.start()
def on_press(key):
if key == start_stop_key:
if click_thread.running:
click_thread.stop_clicking()
else:
click_thread.start_clicking()
elif key == exit_key:
click_thread.exit()
listener.stop()
with Listener(on_press=on_press) as listener:
listener.join()
In the second section from the top, you can edit that according to your preferences.
For the “delay”, enter the time delay in seconds between two mouse clicks.
For the “button”, you can enter Button.left or Button.middle or Button.right according to the mouse button you want to automatically click.
For the “start_stop_key”, enter the keyboard key that you want to press to automate the clicking process and to stop it.
For exit_key, set the exit keyboard key that will shutdown the auto clicking program.
Java Auto Clicker
A simple code written in Java that will let you choose the rate of clicking, the location of the cursor, and will also display the count of the clicks.
Make sure that you have the latest version of Java installed on your computer. Also, download and install JDK SE to load extended features and functions to the library. Once this is done, below is the code that you need to compile and run. Unlike the Python clicker, this one will ask you for the input like number of clicks, time delay between clicks, location, etc.
Source Code (https://github.com/Demonic/AutoClicker/blob/master/src/me/Demonly/auto/clicker.java)
import java.awt.*;
import java.awt.event.*;
import java.io.*;
import java.util.concurrent.ThreadLocalRandom;
public class clicker {
public static boolean clicking = true;
public static int amountclicked = 0;
public static int rate = 0;
public static int rate1 = 0;
public static void main(String[] args) throws InterruptedException {
while (rate1 == 0) {
try {
System.out.println(“How many clicks are you wanting to do?:”);
BufferedReader xyz = new BufferedReader(new InputStreamReader(System.in));
try {
rate1 = Integer.parseInt(xyz.readLine());
if (rate1 == 0) {
rate1 = 0;
System.out.println(“Must be at least 1 click.”);
}
} catch (NumberFormatException ex) {
System.out.println(“Error – please try again.”);
}
} catch (IOException e) {
}
}
while (rate == 0) {
try {
System.out.println(“Max speed of the autoclicker?: (in miliseconds):”);
BufferedReader in = new BufferedReader(new InputStreamReader(System.in));
try {
rate = Integer.parseInt(in.readLine());
if (rate < 500) {
rate = 0;
System.out.println(“Must be at least 500 miliseconds.”);
}
} catch (NumberFormatException ex) {
System.out.println(“Error – please try again.”);
}
} catch (IOException e) {
}
}
try {
System.out.println(“*!*!*!*! PLEASE MOVE YOUR MOUSE INTO POSITION! !*!*!*!*”);
System.out.println(“*!*!*!*! MOVE MOUSE TO END AUTOCLICK! !*!*!*!*”);
System.out.println(“*!*!*!*! Sleeping for 10 seconds !*!*!*!*”);
Thread.sleep(10000);
Point p = MouseInfo.getPointerInfo().getLocation();
System.out.println(“Current Mouse Location: “+p);
Robot robot = new Robot();
while (clicking == true) {
try {
Point z = MouseInfo.getPointerInfo().getLocation();
System.out.println(“Current Mouse Location: “+z);
int randomNum = ThreadLocalRandom.current().nextInt(15000, rate + 1);
System.out.println(“Current Rate: ” + randomNum);
Thread.sleep(randomNum);
robot.mousePress(InputEvent.BUTTON1_MASK);
robot.mouseRelease(InputEvent.BUTTON1_MASK);
amountclicked++;
System.out.println(“Amount Clicked So Far: ” + amountclicked);
if (Math.round(z.getX()+z.getY()) != Math.round(p.getX()+p.getY())) {
System.out.println(“MOUSE MOVED!: “+z);
clicking = false;
}
if (amountclicked == rate1) {
clicking = false;
}
} catch (InterruptedException ex) {
}
}
} catch (AWTException e) {
}
}
}
So, that is how you make your own auto-clicking program. To get into depth like making a proper application with different panels and buttons, it will need some knowledge of C# programming language. Till then, you can get the auto clicking done with the help of the two clickers mentioned above. The codes are not lengthy and will compile easily. If any error comes up, then there must be a problem in installing the package or the latest version of the software is not installed. Update it from the official website of Python/Java and then try it again.
Go on and make your own auto clicking program and enjoy the clicker games at a super fast speed. Happy programming! Happy clicking!

I love playing incremental games and creating tools & software. Connecting both my passions, I wrote down the code for Auto clicker and published it for free for you all on autoclicker.io, feel free to reach out to me on [email protected] to suggest new features and suggestions.